






ComfyUI looks intimidating the first time you open it — a blank canvas of connected boxes instead of a friendly “Generate” button. But those boxes are the point: every step of image generation is visible, rearrangeable, and shareable as a workflow file. In this guide you’ll install ComfyUI, load a Stable Diffusion checkpoint, and generate your first image with the default text-to-image workflow. Then you’ll learn what each node actually does, so you can start modifying the workflow with confidence.
This is for anyone with an NVIDIA GPU (6 GB VRAM or more) who wants local, private image generation — for art, mockups, or just understanding how diffusion models are really driven.
Prerequisites
- OS: Windows 10/11 or Linux. (macOS works but is slower; Apple Silicon needs the MPS build of PyTorch.)
- GPU: NVIDIA with 6 GB+ VRAM recommended. 4 GB can work at 512×512 with low-VRAM flags; CPU-only generation is possible but painfully slow.
- Disk: ~15 GB free — PyTorch plus a checkpoint or two.
- Python: 3.10–3.12 if you install manually. The portable build bundles its own.
Step 1: Install ComfyUI
The fastest path on Windows is the portable build: download it from the ComfyUI download page, extract, and run run_nvidia_gpu.bat. For a manual install (Linux or Windows), which is better for troubleshooting:
git clone https://github.com/comfyanonymous/ComfyUI.git
cd ComfyUI
python -m venv venv
source venv/bin/activate   # Windows: venv\Scripts\activate
pip install torch torchvision torchaudio --index-url https://download.pytorch.org/whl/cu124
pip install -r requirements.txt
The cu124 in the PyTorch URL must match your installed CUDA toolkit — check nvidia-smi and pick the closest build from pytorch.org if yours differs. Then launch:
python main.py --listen 127.0.0.1 --port 8188Open http://127.0.0.1:8188. You’ll see the default workflow already loaded: seven nodes wired together.
Step 2: Download a checkpoint
ComfyUI ships without models — you bring your own. Two sensible starting points:
- Stable Diffusion 1.5 (~4 GB): fast, runs on modest GPUs, huge ecosystem of community fine-tunes. Get
v1-5-pruned-emaonly.safetensorsfrom thestable-diffusion-v1-5/stable-diffusion-v1-5repo on Hugging Face. - SDXL Base 1.0 (~6.5 GB): noticeably better quality, needs 8 GB+ VRAM. Get
sd_xl_base_1.0.safetensorsfromstabilityai/stable-diffusion-xl-base-1.0.
Place the file in ComfyUI/models/checkpoints/ and hit the refresh button (or restart). Select it in the Load Checkpoint node’s dropdown. Both of these checkpoints include their VAE, so you don’t need a separate one yet.
Step 3: Generate your first image
The default workflow is the standard diffusion pipeline, one box per stage:
- Load Checkpoint — the model weights.
- CLIP Text Encode (×2) — turns your positive and negative prompts into conditioning vectors.
- Empty Latent Image — the blank canvas: width, height, batch size. Use 512×512 for SD 1.5, 1024×1024 for SDXL.
- KSampler — the engine room: steps, CFG scale, sampler, scheduler, seed, and the denoise strength.
- VAE Decode — converts the latent result into pixels.
- Save Image — previews and writes the file to
ComfyUI/output/.
Set a prompt and a negative prompt, then press Queue (or Ctrl+Enter):
Positive: a cozy cabin in a snowy forest at dusk, warm light in windows, digital painting
Negative: blurry, watermark, low quality, distorted
Good KSampler starting values: 20–30 steps, CFG 7, sampler euler or dpmpp_2m, scheduler normal (or karras with dpmpp_2m). Your first image appears in the Save Image node and on disk. Change the seed for a new variation of the same prompt — the seed is the only source of randomness.
Step 4: Understand what you’re tuning
Three knobs matter most. Steps is how many denoising passes the sampler takes — more steps means cleaner detail up to a point, then diminishing returns (and linear slowdown). CFG scale is how hard the model follows your prompt: 7 is balanced, 12+ gets literal but can produce artefacts. The checkpoint matters more than any setting — a photorealism fine-tune and an anime fine-tune given the same prompt produce entirely different images. When a result disappoints, change the model before fiddling with samplers.
Want more control? Right-click the canvas → the workflow can be extended: add a VAE Encode + Load Image pair for img2img, chain two KSamplers for a base-then-refine pass (the classic SDXL base + refiner pattern), or install ComfyUI-Manager (git clone it into custom_nodes/) for one-click access to thousands of community nodes like upscalers and ControlNet.
Step 5: Save and share your workflow
Everything — node layout, prompts, settings — serialises to JSON. Use the menu to save the workflow file, or drag any PNG you generated back onto the canvas: ComfyUI embeds the full workflow in the image metadata and reconstructs it. That’s how the community shares recipes: a single image file is the recipe.
Upscaling and the refiner pattern
Once the base image looks right, you’ll want it bigger. The clean way is a second pass: take the generated image, upscale it, and run it through img2img at low denoise strength (0.3–0.5) so the model adds detail without changing the composition. In ComfyUI this is just more nodes — Upscale Image (or the Ultimate SD Upscale custom node for tiled upscaling of large images) feeding a second KSampler. Tiled upscaling matters because diffusion models get confused at resolutions far from their training size; processing in overlapping tiles keeps everything coherent.
SDXL users should also know the base + refiner pattern: the base model generates the composition, then a second checkpoint (the refiner) takes over the last 10–20% of denoising steps for finer detail. In ComfyUI you implement it with two Load Checkpoint nodes and two KSamplers, the second starting from the first’s latent output. It’s more VRAM-hungry, but it’s the closest thing to a free quality upgrade in the SDXL world.
Where things go wrong
Black or missing images / CUDA out of memory. Your canvas is too big for your VRAM. Drop to 512×512, or launch with python main.py --lowvram (slower, but works on 4 GB cards).
“No module named ‘torch’” or CUDA errors. The PyTorch build doesn’t match your GPU/driver. Reinstall torch with the index URL matching your nvidia-smi CUDA version — this fixes the large majority of install failures.
Checkpoint dropdown is empty. The .safetensors file isn’t in models/checkpoints/, or it’s still downloading (these are multi-GB files — check the size).
Mushy, washed-out images. Usually CFG too low, steps too few, or a weak negative prompt. Try steps 25, CFG 7–8, and a proper negative prompt before blaming the model.
Wrap-up
You can now drive Stable Diffusion the way power users do: explicit nodes, repeatable seeds, and workflows you can version-control. From here, the rabbit hole goes deep — ControlNet for pose control, LoRA style adapters, and video nodes. And if you want the other half of the local-AI stack, our Ollama guide gets a language model running on the same machine, which pairs nicely with ComfyUI for prompt-writing assistance.
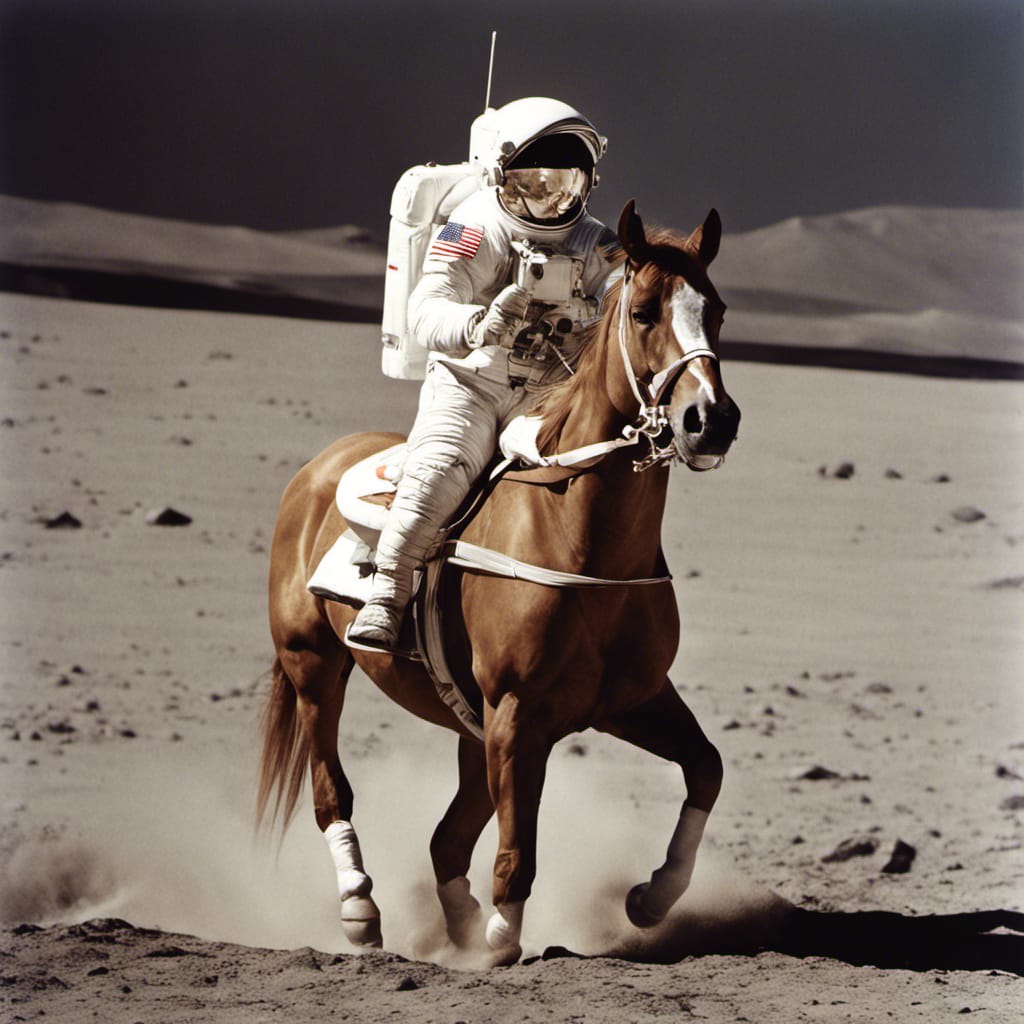
Featured image: an astronaut riding a horse, generated with Stable Diffusion XL (VulcanSphere, via Wikimedia Commons — CC0 1.0 Universal).